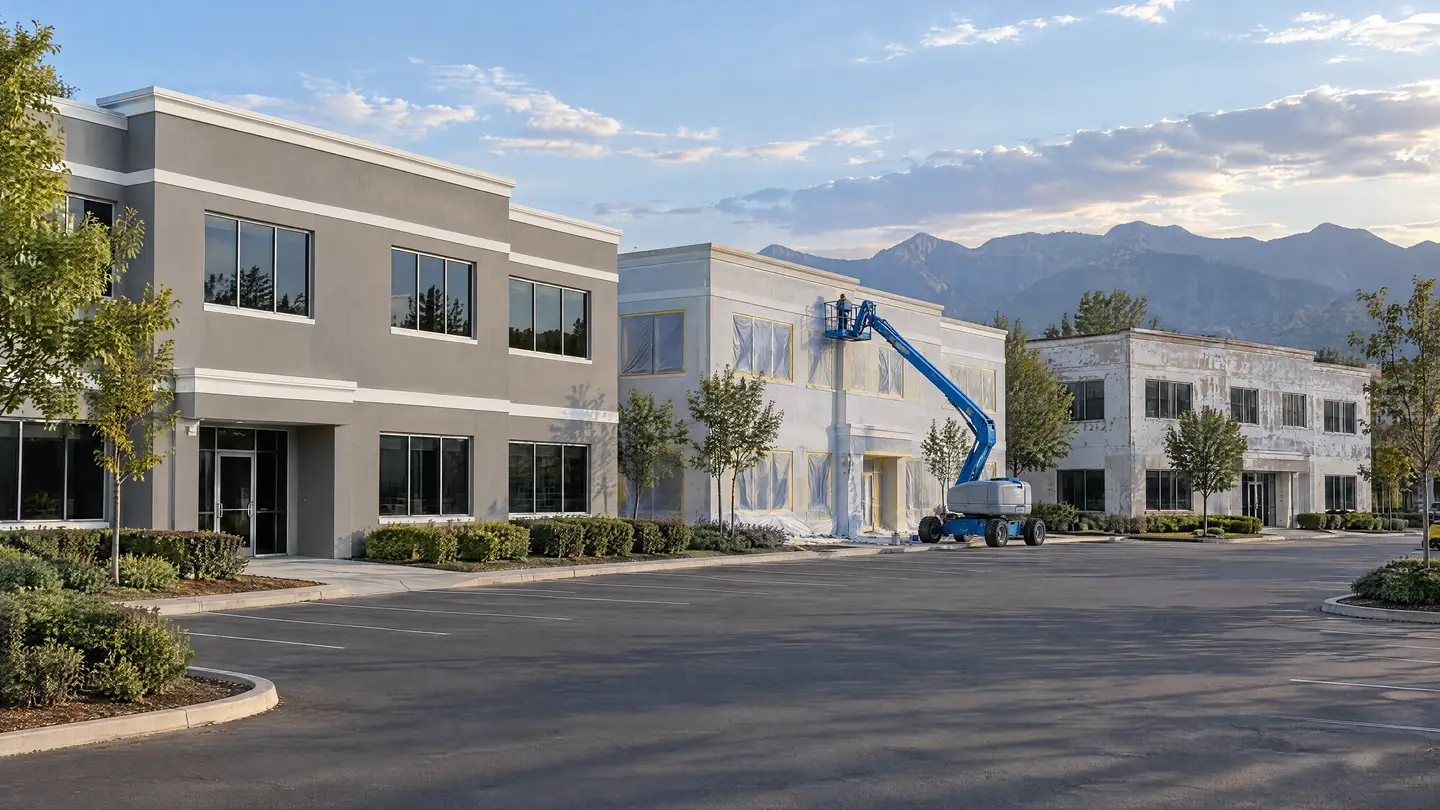
If you want an exterior repaint to start as soon as spring weather allows, the work that decides its budget happens between October and December, while next year's capital and maintenance numbers are still being set. A repaint that is walked, scoped, priced on comparable terms and phased before the new year can go on a contractor's calendar early. One that waits for a March approval starts later and with fewer dates to choose from.
Here's how to split the fourth quarter into three working months.
October: walk the property and record conditions
Start with a condition walk while the weather still makes it easy to see and reach the building. The goal is a written record of each surface as it is today.
Walk every side of the building and note:
- Peeling, flaking or blistering paint, and whether it's lifting down to the substrate or between coats
- Chalking on south and west faces, which take the most sun at Front Range altitude
- Cracks in stucco, EIFS, masonry and concrete, with rough lengths
- Failed or missing sealant at windows, control joints and penetrations
- Rust on steel railings, doors, frames, canopies and exposed structure
- Staining, efflorescence or damage near downspouts, sprinkler heads and grade
- Wood trim or fascia that's soft, split or bare
Photograph each issue and label it with the facade and location. Those photos become the baseline contractors price against. If you have records from the last repaint, such as product names, colors and dates, pull them now. What's already on the wall affects which primers and finish products will bond to it.
Use the walk to decide whether this is a full repaint or a partial one. Some buildings need every facade done this year. Others need the sun-facing walls and the exposed metal now, with the rest on a later cycle. Our page on planned commercial repainting cycles covers how owners spread that work across several budget years.
November: scope by facade and substrate, then plan the phasing
Turn the condition record into a written scope. The most useful format breaks the building down by facade, then by substrate within each facade. A north wall of tilt-up concrete with steel doors is a different job from a west wall of stucco with wood trim, and the scope should say so.
For each surface, the scope should state:
- The preparation required, such as pressure washing, scraping, sanding, crack repair, spot priming or rust removal
- The primer, if any, and the finish product by manufacturer and product name
- The number of coats
- The film thickness, taken from the product data sheet
- The sheen and color
Steel is where vague scopes cause the most trouble. "Prep and paint railings" can mean a quick wire brushing and one coat, or power tool cleaning to a named SSPC/AMPP surface preparation standard followed by a rust-inhibitive primer and two finish coats. Name the preparation standard for metal so every bidder prices the same work.
Repairs need their own lines. Nobody knows exactly how much cracked stucco or failed sealant sits behind loose paint until the paint comes off. Ask for unit prices on likely repairs, such as per linear foot of crack or per square foot of patch, so hidden damage doesn't become an open-ended change order. Then carry a contingency line in your budget to cover those units.
Next, plan the phasing. An occupied building needs a sequence: which facades go first, where lifts will sit, which entrances close and when, and how tenants and visitors get in while work is underway. Phasing also lets you split the work across budget years if the whole building doesn't fit in one. Our project process explains how the site walk, written scope and phasing fit together on occupied properties.
Spec Note
Film thickness is how you verify that the coats in a proposal were actually applied. The coating manufacturer's product data sheet lists a recommended wet and dry film thickness for each product. Put that range in the scope and ask each bidder how it will be checked on site.
December: get comparable proposals and lock the schedule
With a written scope in hand, bid it out. Send every contractor the same scope, the same condition photos and the same phasing plan, and ask them to price it line by line. If a contractor wants to propose a different product or method, ask for it as an alternate next to the base bid, not in place of it.
When the proposals come back, compare them on the items that drive both cost and service life:
| Item | What to check |
|---|---|
| Preparation level | Is preparation described for each surface, or summed up in one sentence? Is a standard named for steel? |
| Products | Are primer and finish named by manufacturer and product line, or only described as "commercial grade"? |
| Coats | How many coats go on each surface, counting primer and spot primer? |
| Film thickness | Does the proposal state a wet or dry film thickness that matches the product data sheet? |
| Repairs | Are unit prices given for crack repair, patching and sealant? |
| Exclusions | What's left out: lifts, permits, sealant, doors, metal, after-hours work? |
| Schedule | Does the phasing match yours, and what start window is offered? |
Two proposals with very different totals often describe two different jobs, such as two finish coats over full priming versus one coat over spot priming. Compare them line by line before comparing totals.
Common Mistake
Choosing the lowest total before checking that every bid priced the same preparation, products and coats. Gaps in preparation don't show on the day the lifts leave. They show later, as early peeling or chalking on the walls that needed the most work.
Once you've picked a contractor and the budget is approved, settle the details that take time to arrange:
- Color selection and, if needed, sample areas on the building for approval by ownership or an association
- Ordering any products or colors the supplier doesn't keep in stock
- Lift and equipment bookings for the start window
- Right-of-way permits from the city if lifts or staging will sit on a sidewalk or street
- Tenant notices for the first phase
Why spring dates depend on decisions made in the fall
Exterior coatings have minimum air and surface temperatures, and many also have dew point and humidity limits, all printed on the product data sheet. On the Front Range, spring brings warm afternoons, cold nights and the occasional late snow, so early-season work gets scheduled around those limits day by day. The first stretches of workable weather go to projects that are already scoped, approved and ready to start.
Contractors build their spring calendars from signed work. A project that is still waiting on a scope, a second round of bids or a board vote in March is competing for dates that may already be taken.
You can read more about how we approach commercial exterior painting on the Front Range, including applying coatings within the manufacturer's temperature and humidity limits. If you'd like a site walk and written scope to anchor next year's budget, you can request an estimate.